The greatest advantage of making clay eggs at home is having the ability to create unusual but realistic variations of color and size. Modeling clay comes in several colors that fall into the egg spectrum, and you can blend different colors by hand to produce other shades. There are several brands of clay you can use to make beads; just make sure it's the kind you can bake to harden. I use
Sculpey oven bake clay that I found at Wal-Mart.
The Clay:
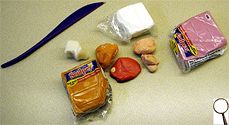 When shopping for clay, it's best to buy a small variety of colors. Orange, pink, white, translucent, red and yellow will be enough, unless the brand you're looking at has another attractive egg color. Many of the colors are too bold by themselves, so I blend most of them with lighter colors to get subtle shades. The translucent clay is one of the most versatile for blending to washout bright colors, but also, when used by itself, it gives the finished egg a correct translucent look.
Blending:
Blending clay is fun and easy. Simply cut off a couple chunks of the colors you want to blend, then start mashing them together in your fingers. Often, the clay will be on the cool side and stiff, but once you start molding it in you hands, it heats up and becomes more pliable. You'll be able to tell how long you need to blend it just by watching the color change. Then, once it's blended, you can add a little of this, or that, fine-tuning the color to whatever shade you're trying to get. The color of the clay doesn't change drastically when baked, but it darkens slightly. So, when blending for a desired color, keep it on the light side.
Rolling:
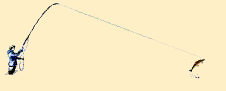
Because dead salmon eggs have color variations in the way of streaks, dots and blotches, I use 3 different colors to give my imitation the same color inconsistencies. I start by rolling a marble-sized piece of clay onto the table or countertop until it's about 6 inches long. Most of us learned to do this with Play Dough, but for those who didn't, put the clay on a table, then, using the palm of your hand, move it back and forth, rolling the clay until it looks like a big worm. Do this with all 3 colors.


Now that you have 3 colored worms, you can pick them all up and mash them into a ball, blending lightly. Don't thoroughly blend the colors, but rather, only mix them up. The clay ball should now have swirling, distinct colors.
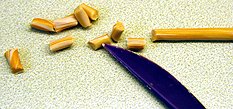
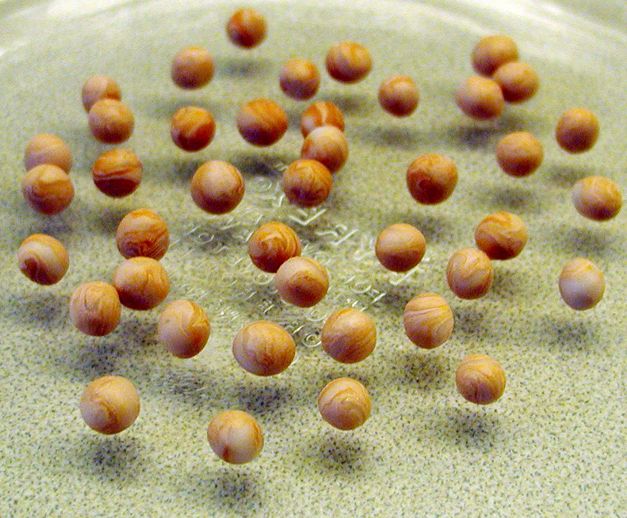
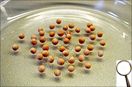 Now, roll the colored ball into a big worm and begin cutting off small chunks. The size of the chunk will depend on how big you want the egg to be. Then, using your index or middle finger, roll the chunk of clay in the palm or your other hand to form a ball the size you want your eggs to be. After rolling the eggs, place them directly into a Pyrex baking dish and preheat the oven.
Baking:
The Sculpey package reads 275°F. for 15 minutes. I usually go about 20 minutes to be on the safe side, but I've also gone too long and ended with little black charcoal balls.
Drilling:
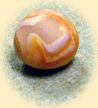
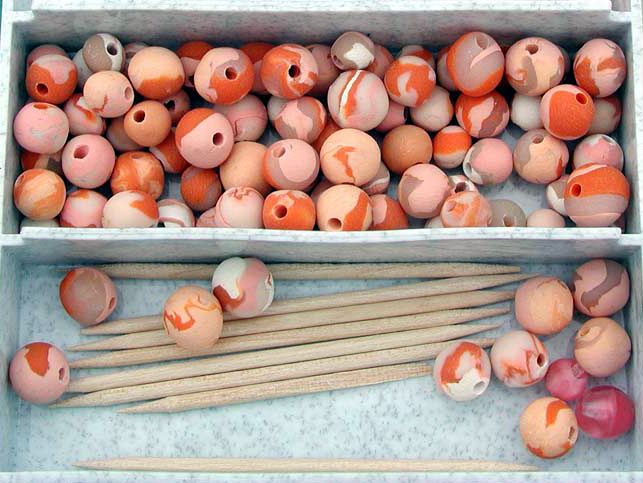
 The final step of drilling the hole seems intimidating, but it's easy. I use an old piece of 2x4 and drill a shallow, egg-sized depression on one side to hold the egg. Then, using a 1/16" bit, I place the egg in the depression, holding it with one hand while I carefully drill the hole with the other. It can be done with a handheld drill, but a drill press is ideal. It's easy to apply too much pressure to the bit, which results in a broken egg, so press lightly and let the bit do the work. A Dremel tool drill press is ideal.
Pattern by B. Hanson © 2005
Photos by B. Hanson © 2005